
Reviewed · PHOTOGRAPHY SESSIONS
Osaka Photography Workshop
Neon signs are great, but pictures need a plan. This Osaka Photography Workshop turns street wandering into hands-on practice, led by Irven Lewis Photography, with step-by-step coaching so you can control exposure instead of guessing. I like that it focuses on real-world shooting, not classroom theory, and it keeps you moving through photo-heavy neighborhoods where light changes fast.
Two things I especially appreciate: you get clear instruction on manual settings like aperture, ISO, and shutter speed, and you finish with a photo review and feedback that helps you improve immediately. The main drawback to consider is simple, the whole experience is about 3 hours, so if you want to linger forever in one spot, you may feel a little time pressure.
In This Review
- Key points before you go
- A street photo workshop, not a photo walk
- Meeting in Dotonbori, then shooting for real
- Stop 1: Dotonbori for neon glow, reflections, and motion
- Stop 2: Hozenji Yokocho for lantern mood and texture
- Stop 3: Osaka Castle Park for framing and seasonal variety
- Stop 4: Umeda for high angles and low-light balancing
- Stop 5: Shinsekai for retro color and Tsutenkaku Tower
- What you learn while you shoot: manual settings that actually stick
- Photo review and feedback, why it changes your next trip
- Included extras, and the small decision you still need to make
- Price and value at $196.23 for 3 hours
- Who should book this Osaka photo workshop
- Should you book it?
- FAQ
- Where does the Osaka Photography Workshop start?
- How long is the experience?
- How much does it cost per person?
- Is this tour private?
- What kind of ticket do I receive?
- What camera skills are taught during the workshop?
- Are admission tickets included for the stops?
- Is brunch included?
- What is the cancellation policy?
Key points before you go
- Manual camera coaching in Osaka street light so you learn aperture, ISO, and shutter speed through what you’re actually seeing
- A route built for different looks, from Dotonbori glow to Hozenji Yokocho lantern vibes to Osaka Castle Park frames
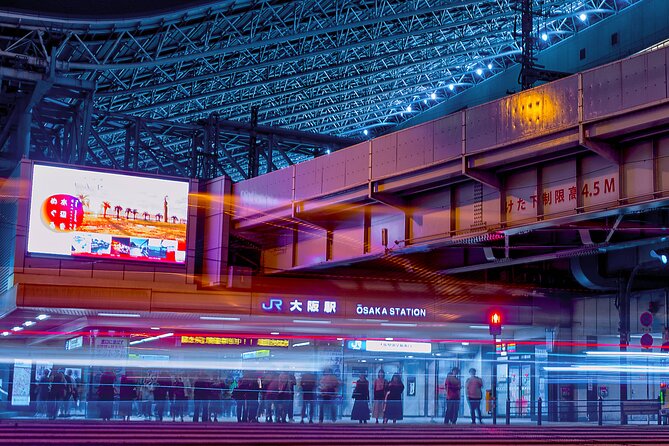
- Umeda high-angle and low-light practice, where exposure really matters
- Shinsekai retro photo targets, including Tsutenkaku Tower and that colorful alley feel
- Private tour format meaning it’s only your group, with patience and attention from the guide
- Photo review and feedback to translate what worked on your shots into what to do next time
A street photo workshop, not a photo walk
This is a 3-hour private photography workshop in Osaka, with a mobile ticket and a guide who keeps things practical. The goal is not just to show you where to stand, it is to teach you how to see and how to set your camera with confidence.
I like the way the workshop is built for both beginners and experienced shooters. If you’re brand-new, the coaching helps you get your bearings fast with camera basics. If you know your camera already, you still get useful work on composition and exposure decisions, because the lighting in Osaka can be tricky and constantly changing.
Frame Osaka in something other than a selfie
- Osaka: Private Vibrant Nighttime Photoshoot (Dotonbori)★ 4.9 · 80 reviews
- Osaka: Kimono or Yukata Rental &Photos Service Options★ 4.9 · 25 reviews
- Kimono photoshoot-Includes 100 photo data★ 5.0 · 21 reviews
- Guided Photography Tour in Osaka: Capturing Memories★ 4.5 · 20 reviews
- Osaka Dotonbori Night Photoshoot – Private | Pro Photographer★ 5.0 · 19 reviews
Meeting in Dotonbori, then shooting for real
You start at the Dotonbori Hotel, 2-chōme-3-25 Dōtonbori, Chuo Ward, Osaka, 542-0071, Japan. The tour ends back at the same meeting point, which makes the whole plan easy to plug into your day.
Because it’s near public transportation, you can usually get there with minimal hassle. Also, this type of private tour matters more than you might think. With only your group, you can ask questions while you’re actively shooting, not after the route is over.
One more practical point: this experience is often booked about 19 days in advance on average, so if your dates are fixed, don’t wait too long.
Stop 1: Dotonbori for neon glow, reflections, and motion
The first stop is one of Osaka’s most iconic and energetic districts, famous for neon signs and reflections. You’ll spend about 1 hour here, and that is a good amount of time to experiment with different settings instead of taking one quick photo and moving on.
This is where manual exposure coaching really pays off. In neon-heavy streets, your camera can easily overexpose highlights from bright signs or underexpose darker areas behind them. You’ll practice controlling aperture, ISO, and shutter speed so your images keep detail while still capturing that electric street feeling.
Expect to work on street-level details too, not just big signage. You can aim for glowing signs, moving crowds, and smaller visual stories like mirrored surfaces and layered light. If you’re trying to show motion, this is also one of the better places on the route to experiment with motion blur and light trails.
Potential drawback here: Dotonbori can be visually intense. If you’re new to photography, it can feel like a lot at once. The workshop structure helps, but you’ll get more out of it if you’re willing to try, delete, and try again.
Stop 2: Hozenji Yokocho for lantern mood and texture
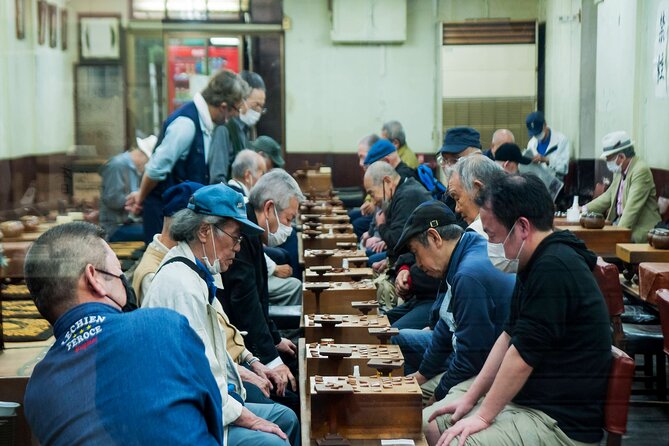
Next up is Hozenji Yokocho, tucked steps from Dotonbori. You’ll have around 20 minutes in this narrow stone-paved lane, lined with traditional lanterns, old-style shops, and cozy izakaya vibes.
This stop is a great contrast to the neon scene. Instead of chasing bright highlights, you’ll likely shift toward texture and atmosphere. Narrow alleys like this can make your composition choices more obvious, because the space frames what you can include.
Why this stop matters for your skills: warm lantern light changes the color balance and your camera’s automatic modes can sometimes struggle. Manual control helps you keep skin tones and sign colors more consistent, and it gives you more creative freedom for mood shots.
Stop 3: Osaka Castle Park for framing and seasonal variety
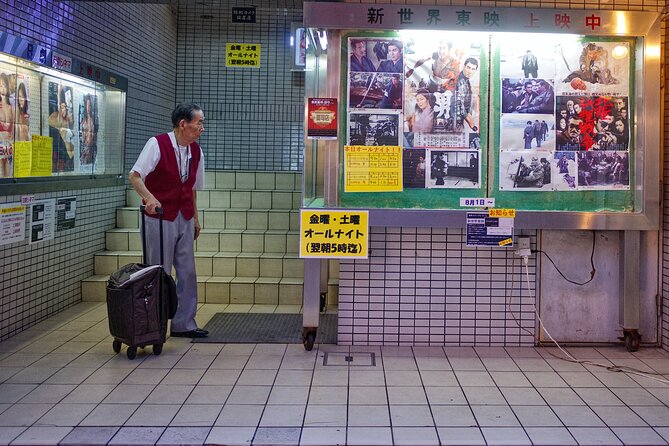
You’ll spend about 40 minutes at Osaka Castle Park. Osaka Castle is the obvious star, but the more interesting part for photography is how you can frame it with moats, stone walls, and surrounding landscape elements.
This stop works well even if you’re not chasing a single iconic shot. You can practice composing with leading lines from the stonework, positioning for clean castle-and-moat views, and adjusting your exposure to handle brighter sky or darker shaded areas.
A helpful mindset here is to slow down your shutter decisions. You can try crisp shots that freeze details, or if the conditions allow, use longer exposures to soften water or emphasize atmosphere. Since the workshop is focused on shutter speed as a creative tool, this is a strong place to test what you learned earlier.
Time note: 40 minutes sounds short, but it’s enough for multiple compositions if you keep moving with intent.
Other ways to spend a day in Osaka
- Sushi Making Osaka Roll and Authentic Japanese Sushi Class
★ 5.0 · 1,220 reviews - Matcha Making Class in Osaka with Authentic Japanese Sweets Set
★ 5.0 · 509 reviews - Osaka: Ramen and Gyoza Cooking Class in Dotonbori
★ 5.0 · 378 reviews
Stop 4: Umeda for high angles and low-light balancing
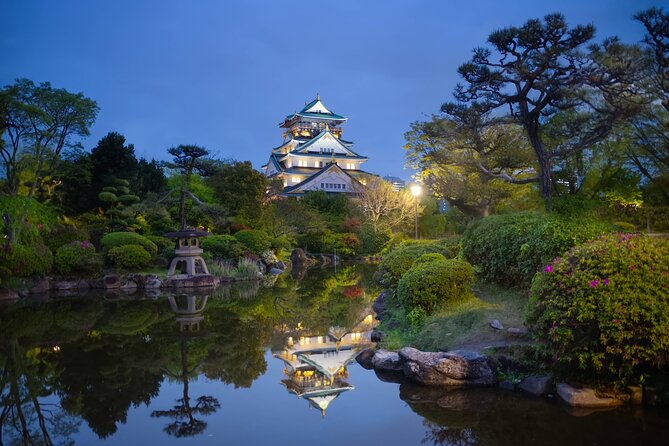
Umeda is the modern skyline district, and you’ll have about 30 minutes. This is where the workshop shifts from street-level storytelling to more technical challenges: shooting from higher angles and balancing exposure in low light.
If you’ve ever taken skyline photos and wondered why everything looks either too dark or too washed out, this is the skill practice you came for. Bright city lights mixed with darker buildings can confuse your camera’s meter, especially when signs and windows create lots of small highlight points.
This is also a good stop for composition. High-angle views let you include patterns from streets and rooftops, and they give you a chance to tell a bigger story than one close-up detail. In a short time, you’ll be able to try a few different framing options and see how exposure changes with each.
Stop 5: Shinsekai for retro color and Tsutenkaku Tower
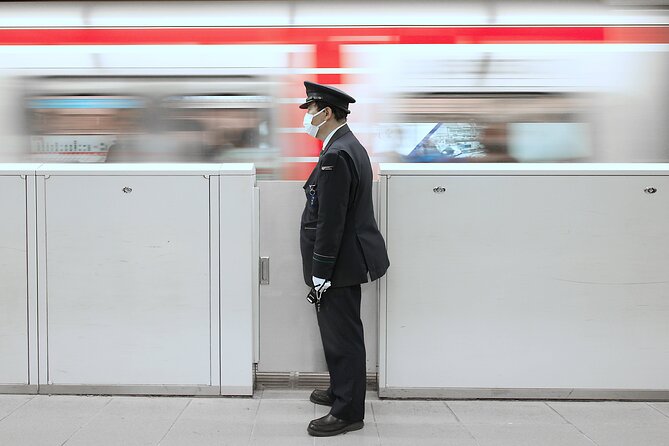
The last stop is Shinsekai, with about 20 minutes. Think retro charm, colorful signs, lively alleys, and the iconic Tsutenkaku Tower.
This is a fun way to finish because Shinsekai rewards creative storytelling. Instead of only photographing the tower, you can work on how people move through the scene, how signs layer visually, and how the neighborhood mixes modern elements with older styles.
For photographers, Tsutenkaku is a useful anchor subject. You can practice including it as a focal point, then also shoot wider compositions where the tower becomes part of the larger “street map” of the neighborhood. If you want to experiment with motion blur or light trail effects, the signage and street activity can make it easier to find lighting cues and timing.
What you learn while you shoot: manual settings that actually stick
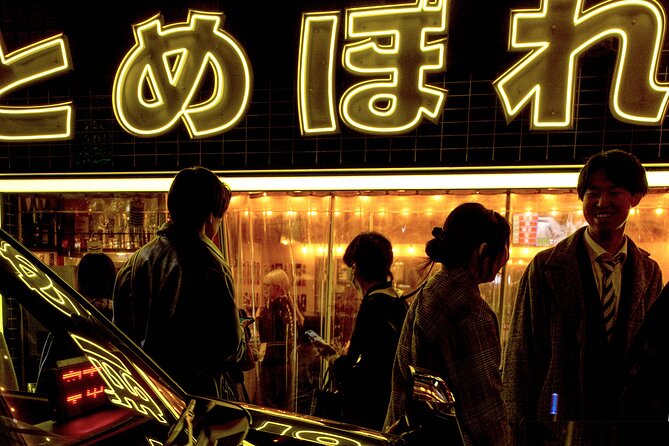
The workshop is built around hands-on coaching, and the skills listed are exactly the ones that help you improve fast. You’ll be guided step by step to master how aperture, ISO, and shutter speed work together.
Here’s what that means in practice while you’re standing in the street:
- Aperture helps you control depth of field. You can use it to blur backgrounds for subject focus, or keep more of the scene sharp when you want the street to tell the story.
- ISO helps you manage brightness when light gets dim. In neon streets and low light viewpoints, this is often the difference between noisy photos and usable detail.
- Shutter speed controls motion. You can freeze action for crisp street moments, or slow down to show motion blur and light trails.
The guide also teaches composition and storytelling through photography. That matters because a technically correct photo can still feel flat. The coaching pushes you toward images that communicate something about Osaka’s rhythm, not just images that prove your camera is working.
Also, the workshop experience includes constructive critique. This is one of the best parts if you want improvement that goes beyond taking more photos.
Photo review and feedback, why it changes your next trip
At the end, you’ll get photo review and feedback. This turns the session from a one-time shooting experience into a learning loop. You can compare your choices, hear what worked, and get suggestions for what to tweak next time.
From the review summaries, Irven Lewis is praised for being patient and knowing good spots for great shots. That patience is important during review time, because you’ll likely have a mix of results. The key is that you leave with clearer direction, not just a thumbs up.
If you’re traveling, this is also where value shows up. You may not remember every setting later, but you’ll remember why a certain photo worked and what you should try again the next night.
Included extras, and the small decision you still need to make
You’ll get professional guidance with step-by-step coaching, local expertise, hands-on practice, and photo review and feedback. The stops on the route are focused on major Osaka districts and photo-friendly areas, with admission tickets listed as free for the stops.
One detail to note: brunch is not included. So I suggest planning your meal timing around the tour length. If you go hungry, you’ll be thinking about food instead of exposure, and that is not a great combo.
A second note: the broader description also mentions iconic photo targets like Kiyomizu-dera, Yasaka Pagoda, Fushimi Inari, and Gion. Your actual route here is built around Osaka districts, but this list suggests there may be additional photo lineup depending on the day. If those specific locations matter to you, ask the guide what is on your schedule.
Price and value at $196.23 for 3 hours
At $196.23 per person for about 3 hours, this is not a budget “walk and shoot” option. You’re paying for guided instruction plus hands-on coaching, private format, and photo review.
Where the value comes from:
- You’re not just buying a route. You’re getting step-by-step teaching on manual settings.
- You’re getting feedback at the end, which helps your improvement rather than ending with a camera full of unknown results.
- Several stops show admission tickets as free, so your cost stays tied to the experience itself.
Is it worth it? If you want to learn camera basics and leave with better photos, yes, the price makes sense. If you just want a scenic stroll with a few tips, you might decide it’s more than you need. But if you’re serious about taking control of your images, this is a good way to get that control quickly.
Who should book this Osaka photo workshop
This tour fits best if you fall into one of these buckets:
- You’re a beginner who wants to understand manual settings in a real place, with a guide helping you adjust on the fly.
- You’re an experienced photographer who wants a local eye for Osaka’s best photo angles and street textures.
- You want a structured route with coaching, not guesswork or random photo opportunities.
- You appreciate a private format, where questions are welcome and patience matters.
If you hate learning and prefer purely passive sightseeing, you may find it too instructional. If you love experimenting and want to come home with better images, you’ll like the pace and the practice.
Should you book it?
I think you should book this Osaka Photography Workshop if your main goal is to improve your photography, not just take pictures. The combination of manual settings coaching plus end-of-tour feedback is what makes it more than a standard sightseeing activity.
You might skip it if you have zero interest in camera controls and you only want quick photos. You also might want to consider your expectations for time. With a 3-hour session, you’ll get focused practice at several standout neighborhoods, but you won’t have unlimited time to linger in any one spot.
If you want a guided way to make Osaka photos look intentional, this is a smart bet. Book ahead since it tends to fill, and be ready to shoot, adjust, and shoot again.
FAQ
Where does the Osaka Photography Workshop start?
The tour starts at Dotonbori Hotel, 2-chōme-3-25 Dōtonbori, Chuo Ward, Osaka, 542-0071, Japan.
How long is the experience?
The workshop lasts about 3 hours.
How much does it cost per person?
The price is $196.23 per person.
Is this tour private?
Yes, it is a private tour or activity, and only your group participates.
What kind of ticket do I receive?
You receive a mobile ticket.
What camera skills are taught during the workshop?
You get step-by-step coaching to use manual settings, including how to control aperture, ISO, and shutter speed, plus composition practice and photo storytelling.
Are admission tickets included for the stops?
Admission tickets are listed as free for the stops in the itinerary.
Is brunch included?
No, brunch is not included.
What is the cancellation policy?
You can cancel for a full refund up to 24 hours in advance. If you cancel less than 24 hours before the start time, the amount paid is not refunded.
Just added around Osaka
Photography Sessions, compared.
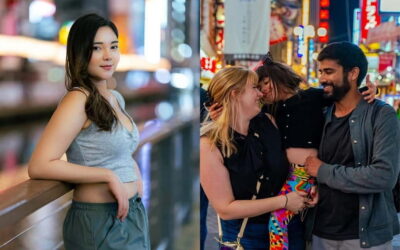
Private Vibrant Nighttime Photoshoot (Dotonbori)
Read our review →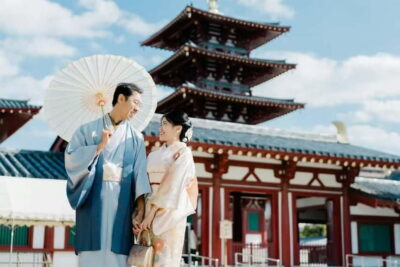
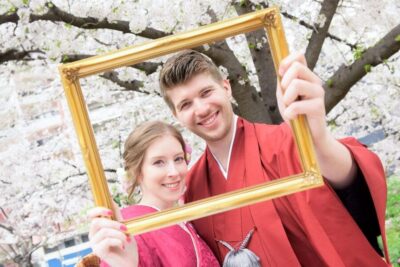
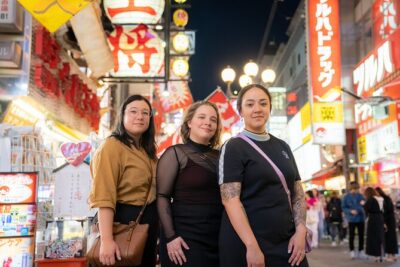
Guided Photography Tour in Osaka: Capturing Memories
Read our review →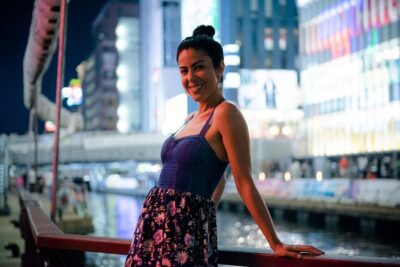
Osaka Dotonbori Night Photoshoot – Private | Pro Photographer
Read our review →
Private Vibrant Night Photoshoot Experience in Osaka (Dotonbori)
Read our review →
Osaka Kimono Experience – Quick Traditional Dress & Photos
Read our review →
This tour also fits