
Reviewed · DOTONBORI EXPERIENCES
Osaka: Private Vibrant Nighttime Photoshoot (Dotonbori)
Night lights, big Osaka energy, great photos.
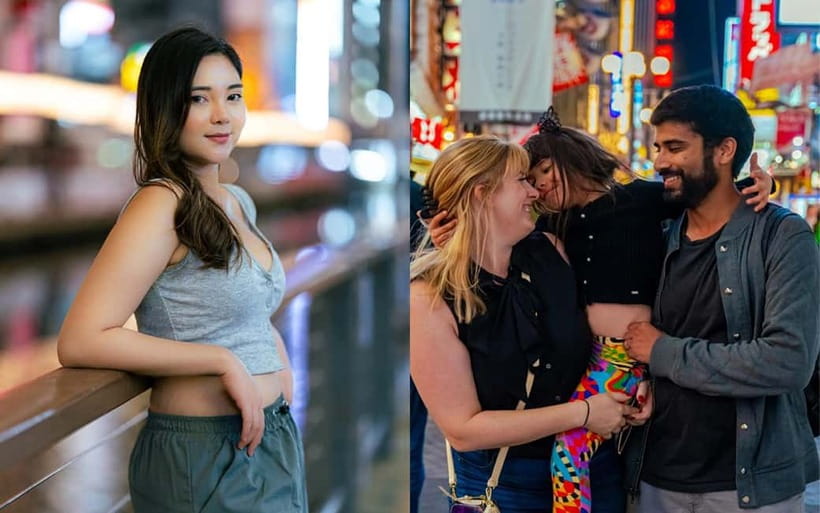
This private Dotonbori shoot is built for high-impact street scenes like the Glico Sign and the lantern-lit lanes of Hozenji Yokocho. I like how the photographers, including Mina and Josh, bring both local know-how and hands-on posing help, so you get more than random selfies in the crowd.
Two things I especially like: you get a lot of images during the walk (about 200 per hour), and you also receive 30 professionally edited photos for a clean, consistent look. One consideration is timing, the team aims to deliver edited photos within 24 hours, but delays can happen in busy seasons.
In This Review
- Key things you’ll notice right away
- Dotonbori at night, why the camera work actually matters
- Meeting point, then straight into Dotonbori
- The main stops: Ebisubashi Bridge and the Glico Sign
- Hozenji Yokocho lantern lanes and the Houzenji contrast
- America-mura: street style energy in a different Osaka pocket
- The hidden side streets that make your set look custom
- How long you’ll shoot, and how to choose your timing
- Photo output: what you get for the price
- Posing help in the real world, not just theory
- Ending at a street food spot, so your night stays fun
- Who should book this Dotonbori private nighttime photoshoot
- Weather, crowds, and what to bring
- Should you book this Osaka Dotonbori night photoshoot?
- FAQ
- Where is the meeting point for the photoshoot?
- How long is the experience?
- What photos do I receive, and in what format?
- When will I get the edited photos?
- How long are the photos available to download?
- Can I purchase raw files?
- What languages does the photographer/guides speak?
- Are there any extra fees for admissions or cancellations?
Key things you’ll notice right away
- Private guide, not a big group, so you can ask for your preferred vibe and pacing
- 5 photo stops in about 1.5 hours (often), with flexibility to adjust to what you want
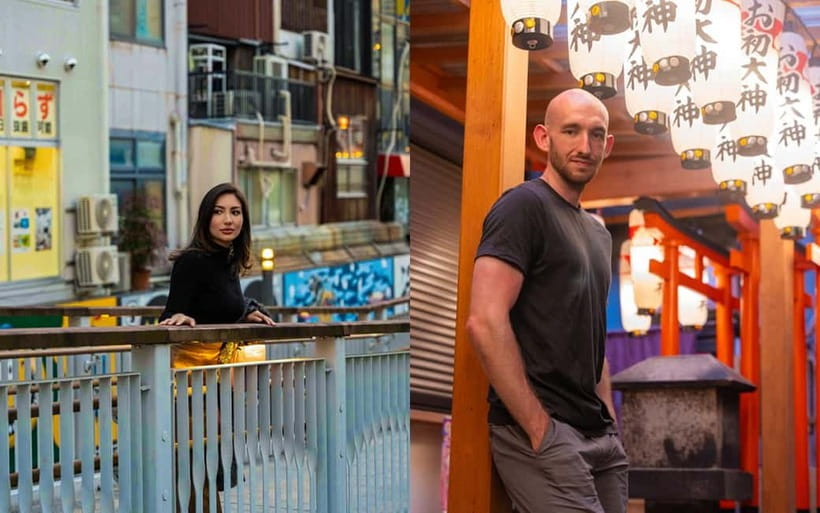
- Hozenji Yokocho and the Houzenji area for that old-school lantern mood
- Glico Sign and Ebisubashi Bridge for Osaka’s most recognizable nightlife backdrop
- America-mura contrast, so your photos don’t all look the same
- One included food ending, where you can grab takoyaki or other local bites
Dotonbori at night, why the camera work actually matters
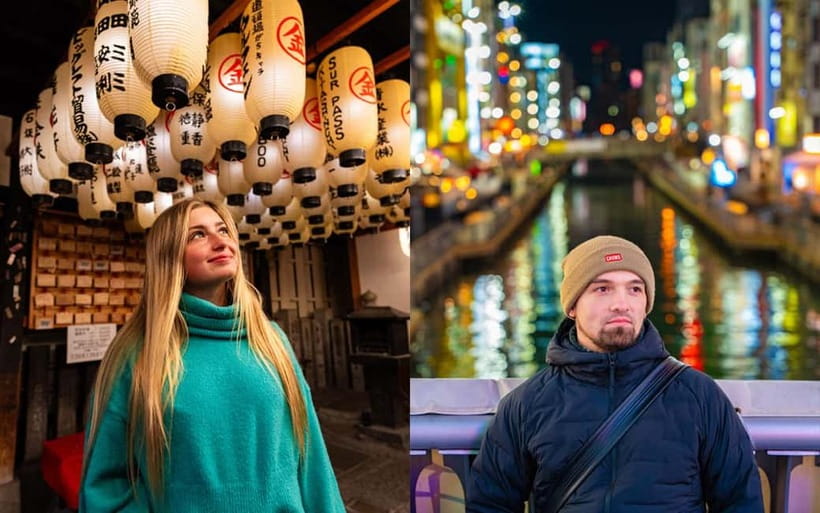
Osaka’s Dotonbori district is famous for a reason. The neon signage, the bright reflections on wet pavement, and the tight streets create photos that look like you planned a whole production.
What makes this photoshoot different from DIY is the coaching. In a place like this, standing in the right spot is only half the job. You also need angles, body position, and timing, especially at night when people, lights, and traffic flow constantly.
If you care about getting pictures that feel like Osaka instead of like a phone app, this setup is designed for that.
The glowing strip everyone photographs
- Osaka Local Foodie Walking Tour in Dotonbori and Shinsekai★ 5.0 · 985 reviews
- Osaka: Dotonbori District River Cruise with Drink Discount★ 4.2 · 876 reviews
- Ultimate Osaka Walking Tour: Castle, Dotonbori & Hidden Gems★ 5.0 · 862 reviews
- Tea Ceremony Experience in Osaka Doutonbori★ 5.0 · 754 reviews
- Osaka: Ramen and Gyoza Cooking Class in Dotonbori★ 5.0 · 378 reviews
Meeting point, then straight into Dotonbori
You meet at 大阪市消防局中央消防署道頓堀出張所 (Osaka City Fire Department, Central Fire Station, Dotonbori branch). From there, the shoot focuses on Dotonbori’s nightlife lanes, typically starting around Ebisubashi Bridge as the walk gets going.
The pace is built around quick photo stops plus movement. Expect short breaks to reset and reposition, then more shooting, not a long sit-down session.
This structure is a good fit if you want photos without feeling trapped. It also works well if you get tired easily, because the route has frequent stops instead of one endless walk.
The main stops: Ebisubashi Bridge and the Glico Sign
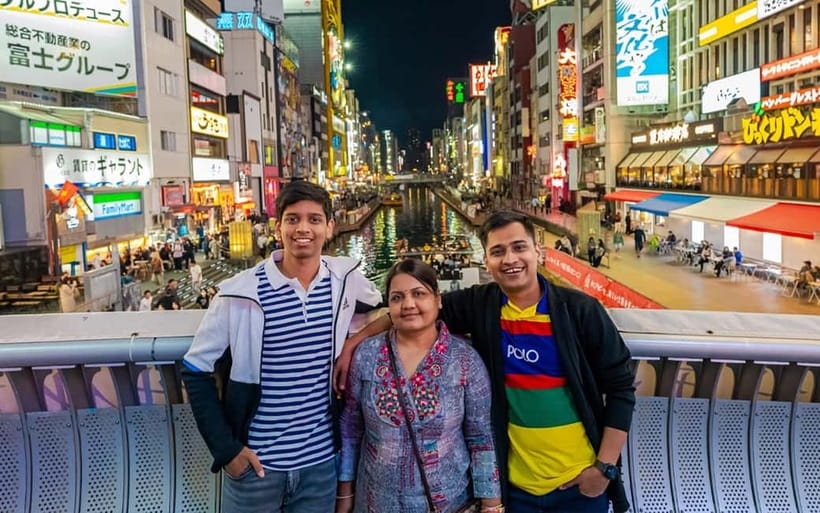
The itinerary centers on the Dotonbori classics. You’ll spend time around Ebisubashi Bridge, often treated as the heart of the district, then work your way toward the neon identity of the area, including the Glico Sign.
Here’s what you’re really paying for at these stops. At Glico and the bridge area, everyone wants the same photo, so light and positioning matter a lot. A good photographer will place you so your face is lit by the signage, while you also avoid the most crowded foreground angles.
Another practical point: these are landmarks where you can quickly get a variety of looks. You can do close shots, mid-range shots with the neon behind you, and tighter framing that makes the signage feel intentional rather than random.
Hozenji Yokocho lantern lanes and the Houzenji contrast
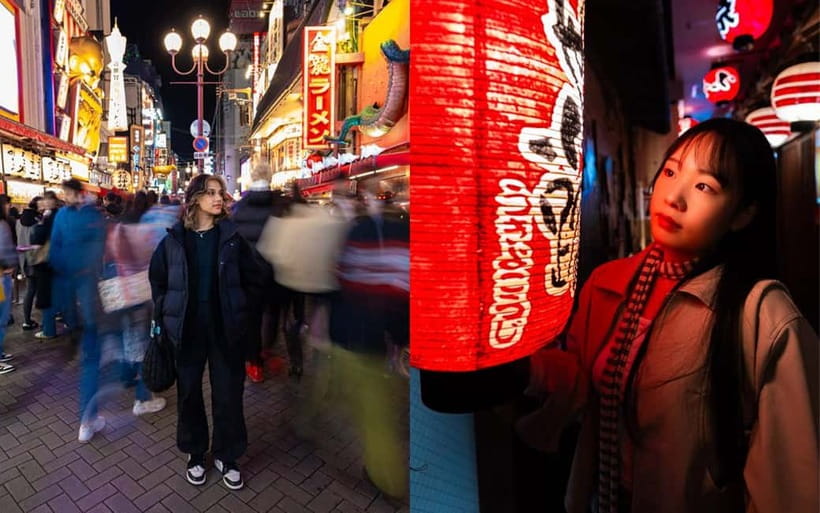
One of the best parts of this shoot is the switch from neon chaos to lantern calm at Hozenji Yokocho, tied to the Houzenji area. The lighting changes the mood fast. Instead of bright sign glare, you get a warmer glow and a traditional alley vibe.
That contrast is not just pretty, it adds variety to your photo set. If all your pictures are taken under bright commercial lighting, they can blend together. This stop helps your final edits feel like a story, not a series of nearly identical backgrounds.
Also, the alley style gives you options. You can shoot wider to show the lane leading lines, or do portrait framing where the lanterns shape the background and keep attention on you.
America-mura: street style energy in a different Osaka pocket
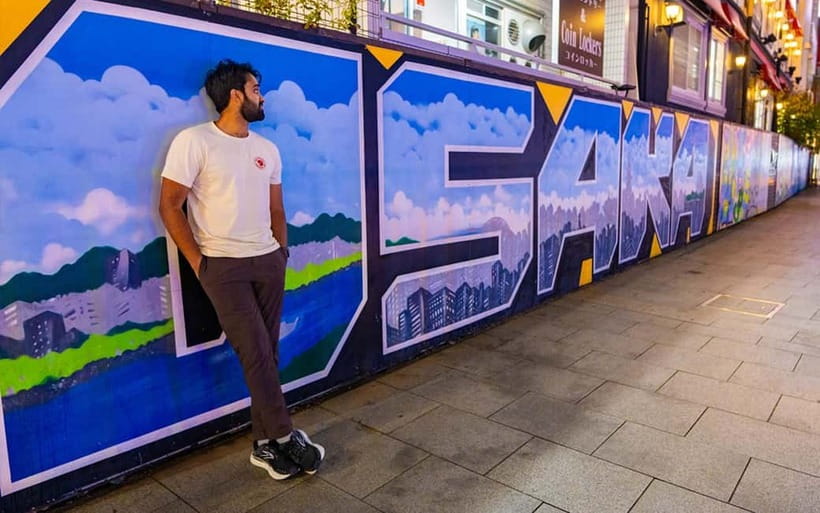
After the classic landmark shots and the lantern alley moment, America-mura brings a totally different visual tone. It’s more fashion-forward and street-style, so your images can feel less like a must-see checklist and more like you’re documenting your own Osaka moment.
For photographers (and for you), this is where you can play. You can try different postures, angles, and expressions without repeating the exact same visual setup from earlier stops.
In real terms, America-mura also helps if you want photos that feel a little more modern. So if you love your city photos more than your tourist photos, this section is a strong match.
Frame Osaka in something other than a selfie
- Osaka: Kimono or Yukata Rental &Photos Service Options
★ 4.9 · 25 reviews - Kimono photoshoot-Includes 100 photo data
★ 5.0 · 21 reviews - Guided Photography Tour in Osaka: Capturing Memories
★ 4.5 · 20 reviews
The hidden side streets that make your set look custom
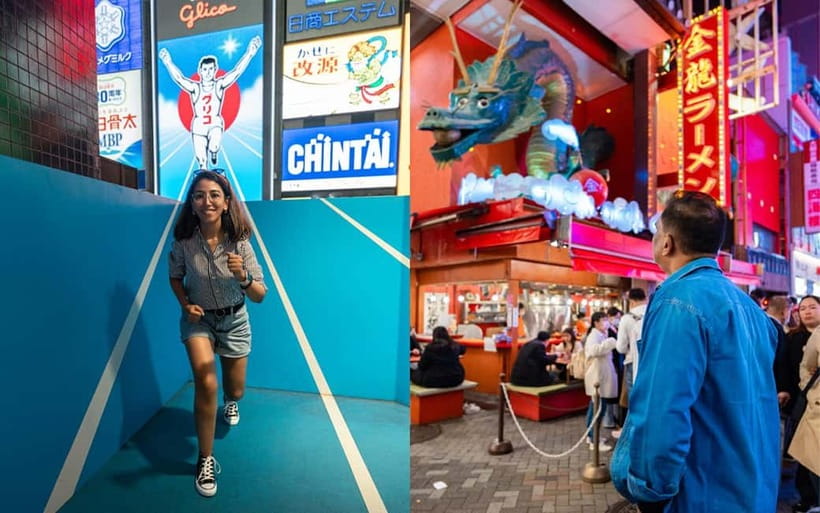
The tour includes “other hidden spots” around this area, plus personal selection of small cozy streets. This is where the private format pays off.
Landmark photos are great. But if your final set only has the same famous angles everyone posts, it can feel less personal. A local photographer can guide you to quieter lanes where the framing looks cleaner and the background feels more like real street life.
From the feedback I’m using to guide what to look for, people repeatedly highlight that the photographer finds spots they would not notice on their own. That matters because Dotonbori is dense. Even if you know the area, it’s easy to walk right past the kind of lane that looks perfect at night.
How long you’ll shoot, and how to choose your timing
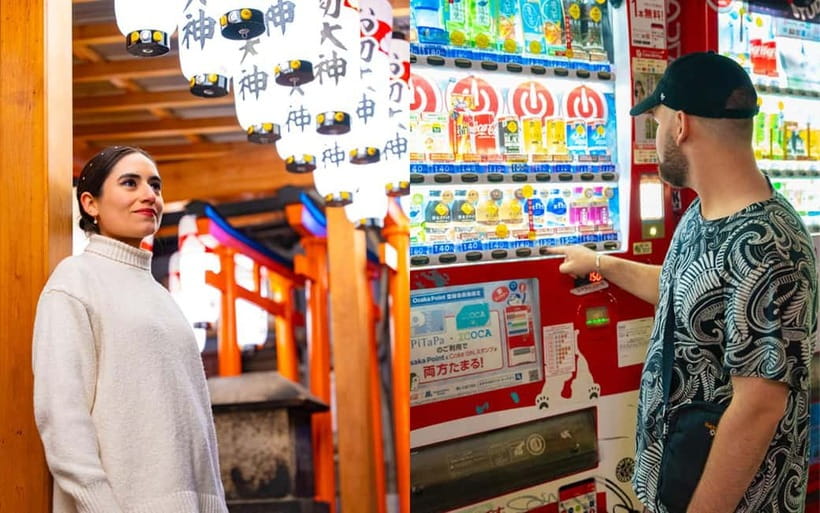
The session length ranges from 90 minutes up to 4 hours depending on availability. Most routes focus on several locations within about 1.5 hours, but the team is happy to adjust based on your preferences.
Here’s the practical way to decide:
- If you’re short on time, go with a tighter schedule so you still hit the must-dos like Ebisubashi and the lantern lane.
- If you want more variety and less rushing, choose a longer session. That extra time gives you room for more angles and calmer pacing at each stop.
Also, the tour is private and can fit different group types, including solo travelers, couples, families, and groups. If you’re traveling with kids, the stop-and-shoot format can be easier than a long, continuous walk.
Photo output: what you get for the price
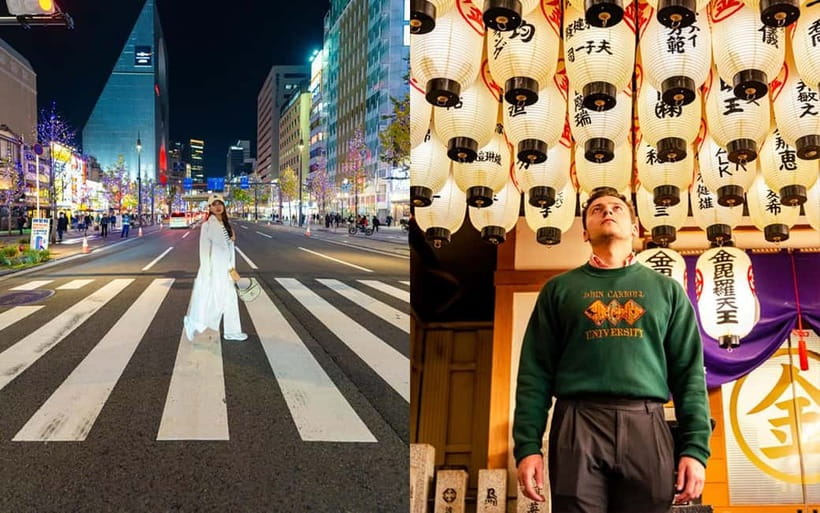
Let’s talk value in plain terms. The price starts at $109 per group up to 1, so think of it as paying for two things: guided nighttime photo setup and a real edited deliverable set.
What’s included:
- All photoshoot images in standard-quality JPG
- About 200 per hour
- 30 professionally edited high-quality JPG photographs
- Edited photo delivery aimed within 24 hours (busy seasons can affect timing)
- Download link works for 2 weeks, then photos are deleted
From a buyer’s perspective, this package is stronger than it looks on paper. The standard JPG set gives you quantity, which is useful if you want to pick favorites later. The 30 edited images give you polished results that are ready to post without extra work.
One more detail that affects the economics: raw files are not included. If you want them, it’s available for an extra ¥10,000 per booking. If you just want beautiful finished photos, you’ll likely be fine staying with the included JPGs.
Posing help in the real world, not just theory
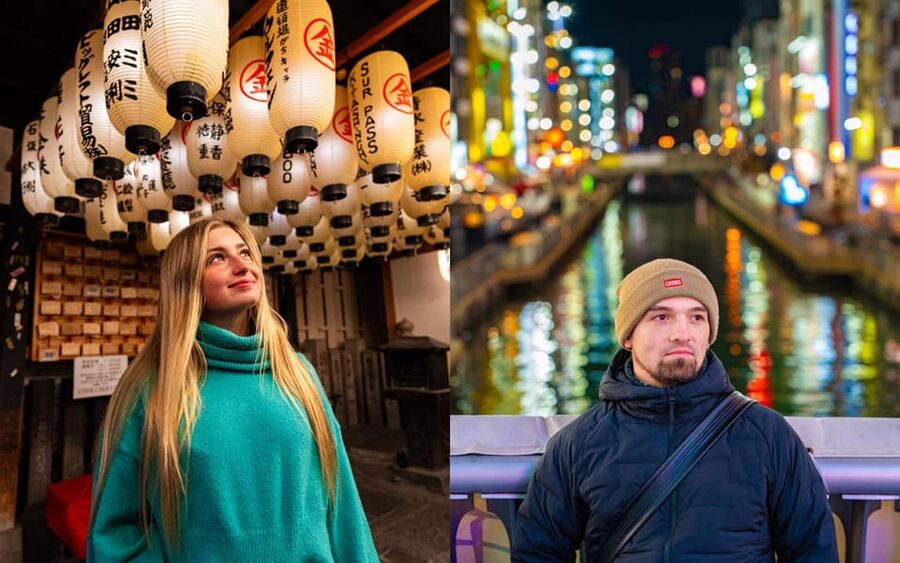
The most praised part of the experience across bookings is the photographer itself. People describe photographers like Mina and Josh as friendly, patient, and actively supportive, with strong posing guidance.
Night street photos fail for predictable reasons:
- you freeze,
- your face ends up too dark,
- or your body looks stiff in frame.
This shoot is designed to reduce those problems. You’ll get direction for positioning and angles at each stop, so you look like you belong in the scene instead of standing awkwardly in front of it.
That’s especially helpful if you’re the one in the photos. If you’ve ever tried to get good night shots by handing your phone to a stranger, you already know how frustrating that can be. A private photographer changes the outcome fast.
Ending at a street food spot, so your night stays fun
The session ends at a popular street food area. It’s not just “walk then photos, goodbye.” The idea is to cap the shoot with actual Osaka food culture.
The description mentions takoyaki as a common choice, and you can grab other local specialties too. This ending matters because it turns the experience into a real evening plan, not just a photo session with no payoff afterward.
It also helps you use the energy of the district right away. If you’re still excited and hungry, you’re more likely to keep exploring on your own after the last photo.
Who should book this Dotonbori private nighttime photoshoot
This is a strong fit if you want:
- recognizable Osaka nightlife scenes like Glico Sign and Ebisubashi
- a mix of neon and lantern alley mood with Hozenji Yokocho
- a guided, private photo experience with real posing help
- photos you can actually use, with 30 edited images included
It’s also a good match if you travel solo. Several solo-focused bookings highlight how helpful it is to get a professional to guide you through both photo spots and composition.
It can work well for families, too, because the route is stop-based and private. That said, if your group wants long museum-like pacing or quiet indoor time, Dotonbori nighttime is street-focused by nature, so you may prefer a different type of tour.
One more practical note: it’s listed as wheelchair accessible, which is a big plus for people who need that kind of flexibility.
Weather, crowds, and what to bring
Dotonbori is a street district, so night conditions can change quickly. If it’s raining, you can get great reflections, but you’ll want to stay comfortable and safe.
Bring:
- comfortable shoes for uneven sidewalks
- a small layer for nighttime temperature shifts
- a backup phone battery if you plan to take extra pictures between stops
If you’re sensitive to crowds, the private pace helps. You still have the reality of a famous district, but you’re moving with a photographer who can guide you through better angles and timing.
Should you book this Osaka Dotonbori night photoshoot?
Book it if you want photos that look like Osaka night life, not a compromise selfie set. The combination of landmark stops, lantern alley variety, and a photographer who actively directs posing is the reason this works.
Skip it if you already have strong night photography skills and you just want to walk Dotonbori at your own pace with no coaching. In that case, the money is better spent on your own camera time, street snacks, and roaming.
If you’re unsure, I’d treat it as a “time-saving photo upgrade.” You get lots of images, a finished edited set, and the route helps you hit the best areas without guesswork.
FAQ
Where is the meeting point for the photoshoot?
You meet at 大阪市消防局中央消防署道頓堀出張所.
How long is the experience?
The duration is 90 minutes to 4 hours, depending on availability.
What photos do I receive, and in what format?
You receive all photoshoot images (about 200 per hour) in standard-quality JPG format, plus 30 professionally edited high-quality JPG photographs.
When will I get the edited photos?
The team aims to deliver edited photos within 24 hours, though delays may occur during busy seasons.
How long are the photos available to download?
The download link is available for 2 weeks after it is sent, then the photos are deleted.
Can I purchase raw files?
Yes. Raw files are available for an extra ¥10,000 per booking.
What languages does the photographer/guides speak?
The live guide is available in English, Arabic, Japanese, and Spanish.
Are there any extra fees for admissions or cancellations?
Admission fees are not included if the route includes paid-entry sites, and you are responsible for the photographer’s admission fee in those cases. You can cancel up to 24 hours in advance for a full refund, and you can reserve now and pay later.
Just added around Osaka
Dotonbori Experiences, compared.
Osaka Local Foodie Walking Tour in Dotonbori and Shinsekai
Read our review →
Dotonbori District River Cruise with Drink Discount
Read our review →
Ultimate Osaka Walking Tour: Castle, Dotonbori & Hidden Gems
Read our review →
Dotonbori River Cruise with Glico Sign & Neon Views
Read our review →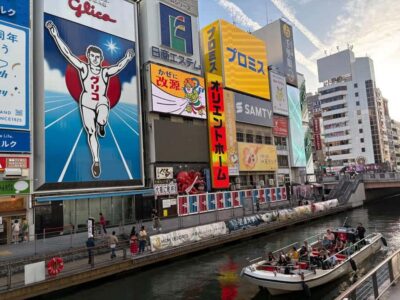
Roll and Authentic Sushi Making Class in Dotonbori
Read our review →This tour also fits