
Reviewed · PHOTOGRAPHY SESSIONS
Osaka Night Photography Workshop
Osaka at night is a different city, and your camera has to keep up. This 3-hour Osaka Night Photography Workshop turns the chaos of neon streets into usable photo skills. You start with real settings and real scenes, then you practice until your hands understand what your eyes already see.
I especially liked the practical coaching, because you do not just get tips, you get step-by-step help with manual control. I also like that the guide can match the pace to your level, which matters a lot when you are learning street photography after dark.
One thing to consider is walking. You will cover a lot of ground, so comfortable shoes are not optional, and you may want extra battery power if your camera runs fast at night.
In This Review
- Key takeaways before you go
- Osaka After Dark Is a Photo Test, and That Is the Point
- Where You Start: Dotonbori to Nipponbashi, Then Shinsekai to Tennōji
- Manual Settings and the Exposure Triangle, Taught So You Can Use Them
- Tripod Skills: Stability, Sharpness, and Light Trails
- Street Photography Coaching: Finding Subjects, Not Just Taking Photos
- Osaka and Possible Kyoto Stops: Iconic Scenes Plus Real Practice
- The Pace, the Private Group, and the Feedback Loop
- Price and Value: What $200 Buys in 3 Hours
- What to Bring, and the Common Night-Photo Problems to Solve Early
- Who This Workshop Fits Best
- Should You Book This Osaka Night Photo Workshop?
- FAQ
- How long is the Osaka night photography workshop?
- Where does the photo tour start?
- Is this tour private?
- Do I need a specific type of camera?
- Do you teach manual camera settings?
- Is food included?
- Is there an option for light trails and illuminated scenes?
Key takeaways before you go
- Manual mode coaching that sticks, with the exposure triangle, aperture, ISO, and shutter speed explained in plain terms.
- Tripod technique for night sharpness, including how to stabilize shots and work with longer exposures.
- Route options that adapt to your interests, with a guide who can shift where you shoot if you want different angles.
- Street subjects, not just landmarks, so you practice timing, framing, and composition on the scenes people actually photograph.
- Photo review and feedback, so you leave with a clearer plan for your next Osaka night.
Osaka After Dark Is a Photo Test, and That Is the Point
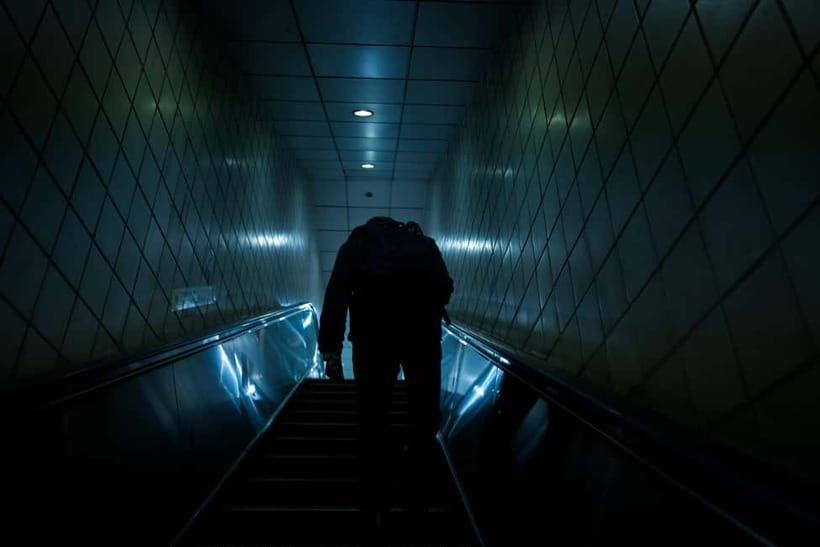
Night photography in Osaka is not only about pretty lights. It is about controlling light. That is why this workshop works so well for beginners and for people who already know their camera.
Osaka’s night scenes throw you fast challenges: bright signs next to dark alleys, moving crowds, and reflections in puddles and shop glass. With the right settings, you can capture crisp subjects plus the longer glow of the city. Without those settings, your photos turn soft, noisy, or just too bright in the wrong places.
I like that the workshop does not treat nighttime like a mystery. You get a method. The guide focuses on the exposure triangle (aperture, ISO, shutter speed) plus composition and timing, so you stop guessing and start making choices.
Frame Osaka in something other than a selfie
- Osaka: Private Vibrant Nighttime Photoshoot (Dotonbori)★ 4.9 · 80 reviews
- Osaka: Kimono or Yukata Rental &Photos Service Options★ 4.9 · 25 reviews
- Kimono photoshoot-Includes 100 photo data★ 5.0 · 21 reviews
- Guided Photography Tour in Osaka: Capturing Memories★ 4.5 · 20 reviews
- Osaka Dotonbori Night Photoshoot – Private | Pro Photographer★ 5.0 · 19 reviews
Where You Start: Dotonbori to Nipponbashi, Then Shinsekai to Tennōji
The route gives you a nice mix of energy and variety. You begin at Dotonbori, one of Osaka’s most famous night streets, where signs, crowds, and water reflections create instant photo opportunities. This is a smart starting point because it shows you the range of lighting you will face all evening.
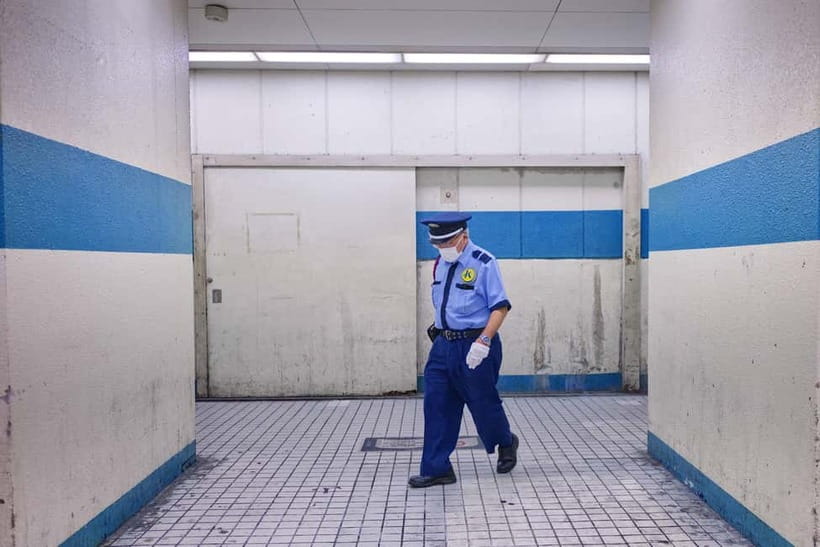
Next comes Nipponbashi, which gives you a different kind of street texture. Think more side-street feel and busy details, the sort of place where framing and subject selection matter more than chasing one perfect view.
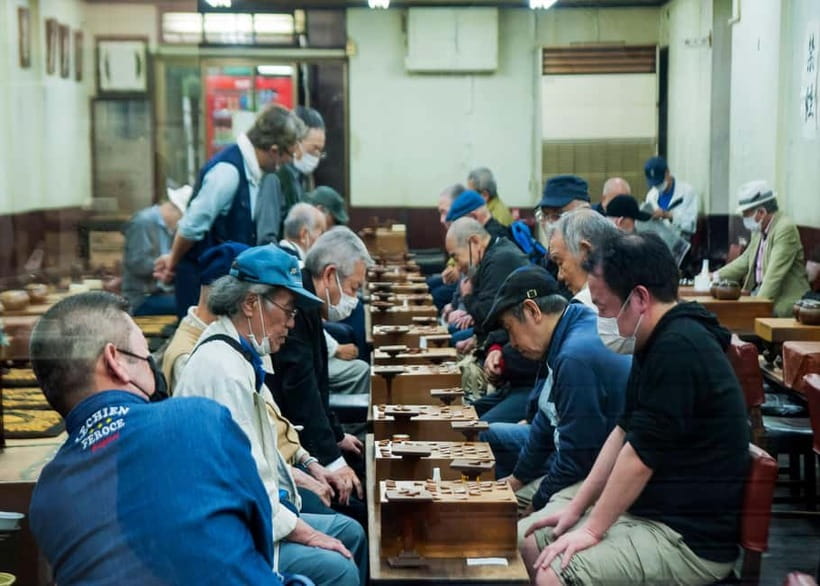
Then you move to Shinsekai, where the mood turns more nostalgic. This matters because night photography is not only about neon. You also want atmosphere, signs of everyday life, and angles that tell a story.
From there, you take a train to Tennōji, which opens up even more shooting possibilities. Night trains and station areas often create strong lines and lighting patterns. You also get a change of pace, which helps when you are trying to apply your new settings on the next set of scenes.
A practical note: the route can feel like “a lot,” and that is real. In one review, the photographer said the group covered so much Osaka that their battery ran out before they did, which is your hint to bring spares.
Manual Settings and the Exposure Triangle, Taught So You Can Use Them
This is not a workshop where you watch your guide work and hope it transfers to your next photo. The coaching is hands-on and tailored to your skill level, and it repeatedly returns to the same core problem: how to control exposure at night.
You will work in manual mode and learn how to think through three knobs at once:
- Aperture: how it affects sharpness and light.
- ISO: how it affects brightness and noise.
- Shutter speed: how it affects motion blur and light trails.
The best part, in my view, is that these concepts are tied directly to what you are photographing. Night scenes force compromises, like when you want the street bright enough but you also need a shutter speed that does not smear moving subjects. You practice until you can make those compromises on purpose.
Also, the workshop covers composition and framing, not as vague theory but as practical choices you can see in your viewfinder. That includes how to position your subject against busy signage, how to avoid messy backgrounds, and how to build a frame that actually explains the scene.
Tripod Skills: Stability, Sharpness, and Light Trails
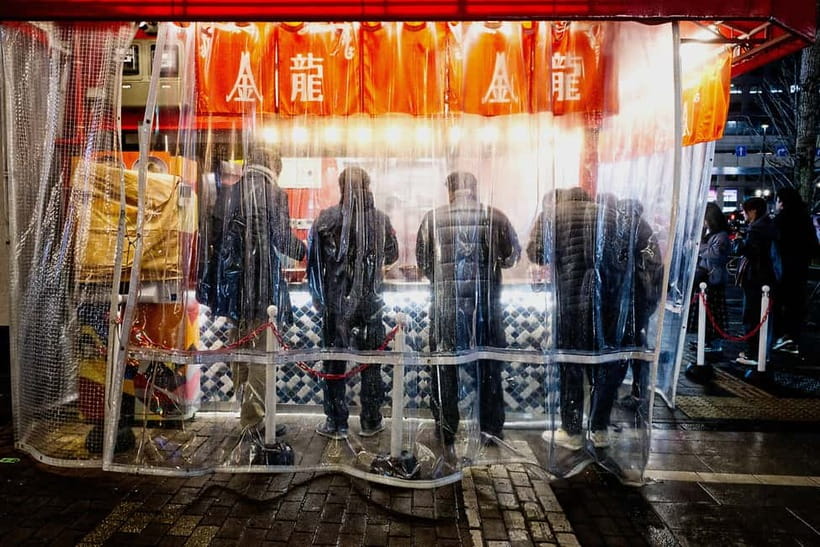
For night photography, sharp images are not luck. They come from stability and technique, and this workshop specifically addresses how to work with a tripod.
You learn how to set the tripod up so it stays solid, then how to use it with manual settings to get crisp results. That is especially important for long exposures where small camera movement becomes soft blur.
You also get guidance on light trails and timing. Light trails are one of the easiest ways to show motion and energy without turning the whole image into mush. But they require the right shutter speed and the right position in the scene.
There is also an optional evening session tied to light trails and illuminated scenes, if you choose that extra shooting time. If you enjoy nighttime effects and you want more practice with longer exposure looks, this is the part that can turn the workshop from “good help” into “I left with a stack of usable night shots.”
Street Photography Coaching: Finding Subjects, Not Just Taking Photos
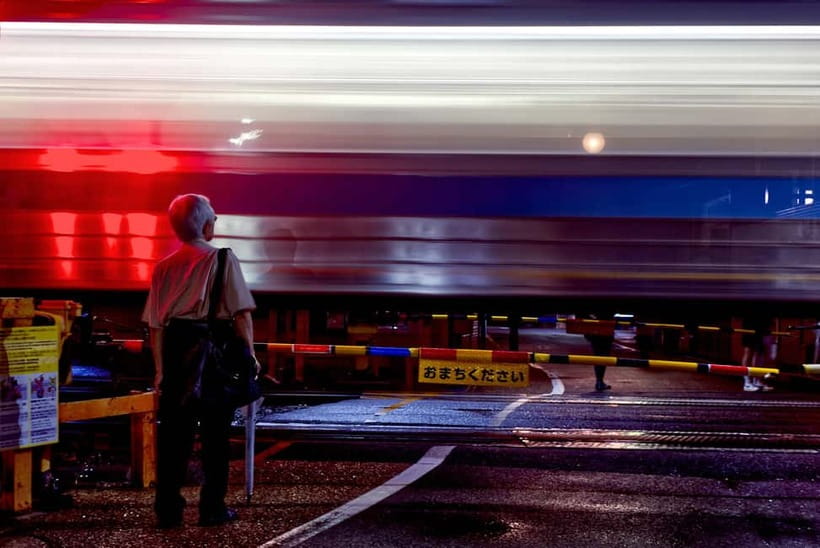
Street photography sounds simple until you are standing in a crowd at night with a camera in your hand. That is exactly where a guide earns their fee.
You get step-by-step coaching on where to shoot and what subjects make strong photos in Osaka at night. Even if you are new, the training is designed to help you get your bearings fast. You learn to spot scenes with clear framing potential, not just areas that look busy from far away.
One review called out how helpful it was for a novice street photographer, because the guidance made it easier to understand what to aim for. That is huge. Street photography is partly timing and partly confidence. When you know what you are looking for, you stop hesitating, and your keeper rate improves.
Another plus: the guide can adapt. In a review from the United States, the photographer asked to shoot spots the guide does not usually take clients to, and the guide was game. That tells me you should feel comfortable asking for adjustments based on what you like to photograph, not only what the group normally shoots.
Other ways to spend a day in Osaka
- Osaka After Dark: Small-Group Night Food Tour (Max 6)
★ 4.5 · 245 reviews - OSAKA NIGHT FUSION Japanese Taiko Kabuki Samurai Dance Show
★ 4.8 · 155 reviews - Osaka: Bar-Hopping Night Tour in Namba
★ 4.7 · 117 reviews
Osaka and Possible Kyoto Stops: Iconic Scenes Plus Real Practice
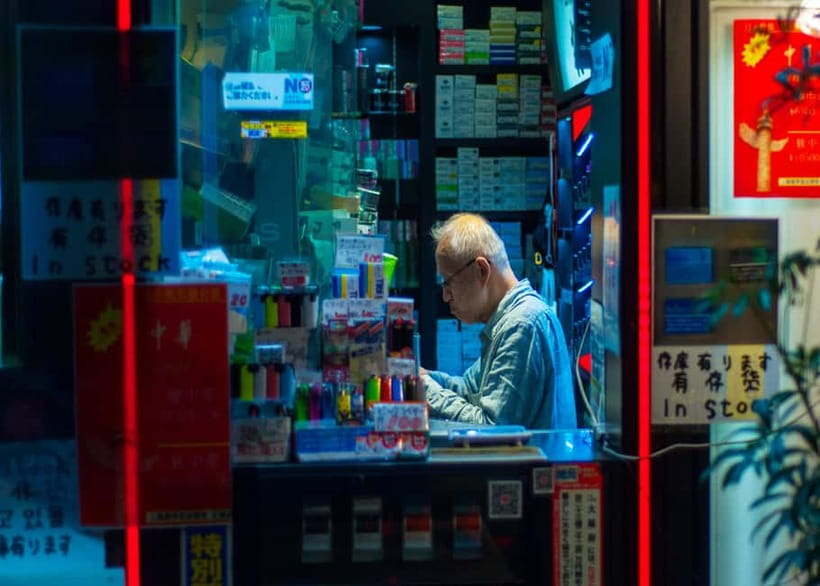
This workshop is centered on Osaka, but it also includes a list of iconic Kansai sights you may photograph depending on your route and customization. The included locations mention classic Kyoto areas and landmarks, like Kiyomizu-dera, Yasaka Pagoda, Fushimi Inari Taisha, Gion alleys, and Shirakawa Canal, along with more stops.
Because the route is flexible based on your interests and pace, you are not locked into one style the whole time. If you prefer temple silhouettes, shrine entrances, or traditional street lanes, you have a chance to build a set that mixes night city scenes with the Kyoto mood.
Just keep expectations grounded. With only a 3-hour window, any route that includes multiple famous stops depends on what is workable that evening. So focus on the coaching value, because that transfers no matter what street corner you land on.
The Pace, the Private Group, and the Feedback Loop
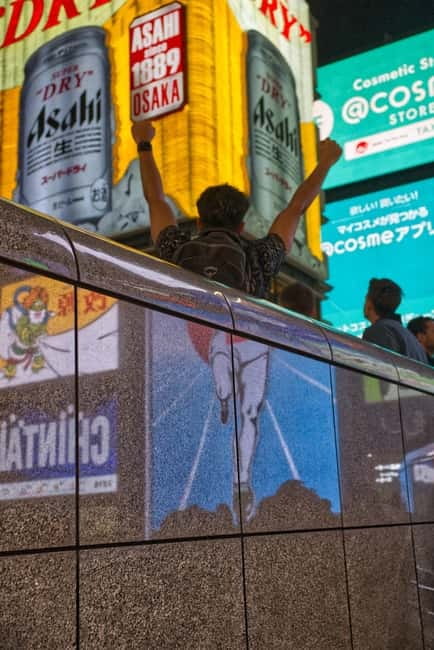
This is a private group workshop, and the pacing is explicitly matched to your skill level. That is a big deal when the goal is actually learning camera settings, not just collecting photos.
In one review from the United Kingdom, the photographer noted the guide matched the tour pace to their skill level and gave direction on what subjects would make great photos. That is how you avoid the most common problem with beginner workshops: you fall behind, then you lose confidence, then you stop practicing.
You also get photo review and feedback. That turns the session into a feedback loop, instead of a one-time walk with a camera. If you have ever gone on a photo tour and later wondered why your night shots looked off, this feedback is what helps you adjust quickly.
And since you are not limited to one camera type, the coaching can flex. The workshop supports DSLR, mirrorless, and smartphone users. Night photography is different on a phone, but exposure thinking and framing decisions still apply. You still learn how to approach the scene.
Price and Value: What $200 Buys in 3 Hours
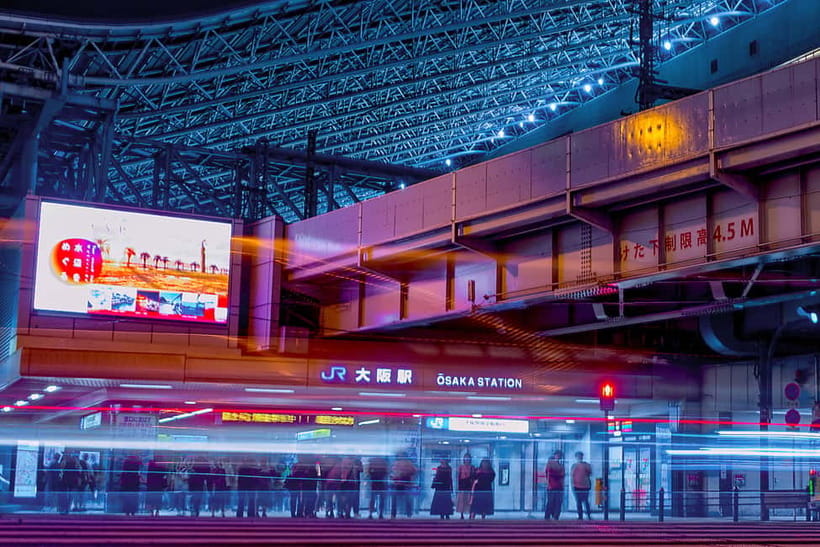
At $200 per person for a 3-hour workshop, you are paying for two things: instruction and access to a structured route where the lessons actually land.
If you tried to learn night photography alone, you would likely spend most of your time troubleshooting. You might read about the exposure triangle, but you would struggle to apply it under pressure, with moving crowds and changing light. Here, you practice in the exact conditions you need to master.
The value also comes from the specificity of what you learn. This workshop focuses on manual settings, tripod use, composition, framing, light trails, and timing. Those are the core mechanics behind night photography results. You leave with a working toolkit, not just a list of where to go.
Finally, reviews point to a real advantage: the guide is willing to adjust. One photographer asked for a different set of spots and got a positive yes. Another noted the guide’s energy and how much ground the group covered. That suggests the session is not rigid, and you are more likely to get what you want out of it.
What to Bring, and the Common Night-Photo Problems to Solve Early
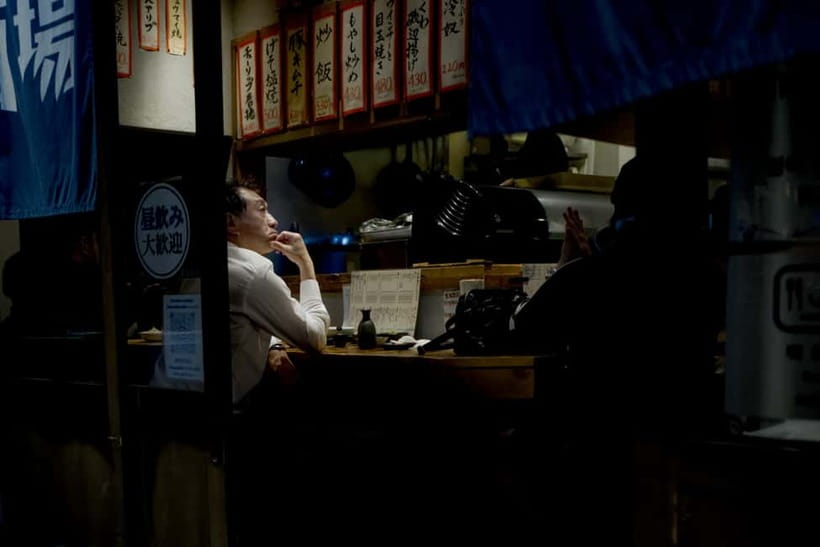
Bring comfortable shoes. The route involves significant walking, and night surfaces can be slick, uneven, or just harder to watch when you are focused on framing.
Plan for power. Night shooting often means higher ISO trials, longer exposures, and lots of test shots. One review mentioned the camera battery ran out during the extensive Osaka coverage, and they were glad they had extras.
If you use a tripod, make sure you are comfortable carrying it. The workshop will teach you how to use it, but you still need the ability to move and set it up during street segments.
Food is not included, so do not assume you can eat during the session and still keep shooting momentum. If you need fuel, handle it before the workshop starts.
Who This Workshop Fits Best
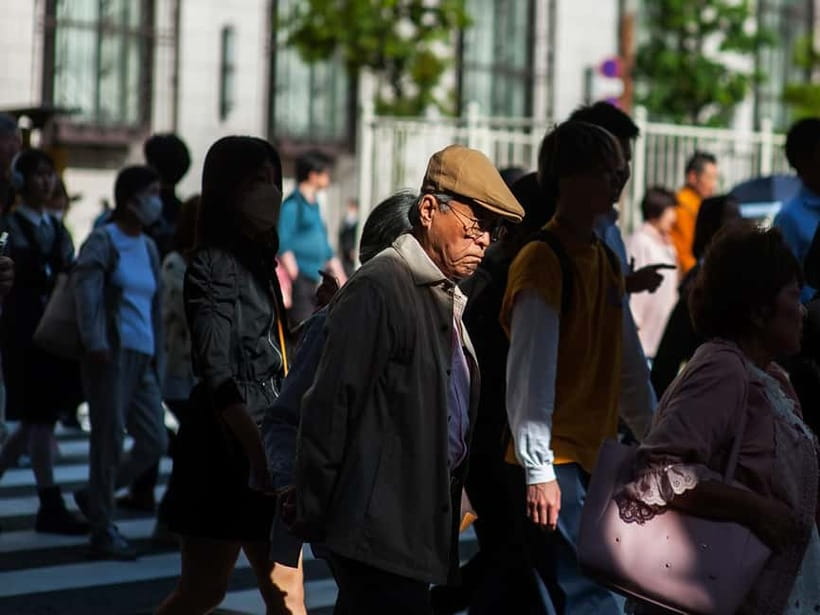
This workshop is designed for two groups.
First, absolute beginners. If you need a calm explanation of camera basics and what the exposure triangle actually does, you will get that step-by-step. The goal is to help you gain control, not to impress anyone with jargon.
Second, people who already shoot seriously. If you know your camera but want a guide to help you find strong photo spots and improve your technique on location, this is a good fit. The tripod coaching, light trails practice, and photo feedback are useful even if you have shot at night before.
It is also a strong choice if you enjoy street photography. You are not only chasing scenery. You are practicing framing, timing, and subject selection in real streets.
Should You Book This Osaka Night Photo Workshop?
Book it if you want real night-photo skills in a short window. The workshop is built around manual settings, tripod technique, and practical composition, then backs it up with feedback. If you like the idea of walking a focused route and learning by doing, this is a good use of your evening time.
Skip it if you only want passive inspiration. If your goal is simply to wander for photos with no instruction, a guided walk might feel more satisfying than a coaching workshop. Also, if you cannot do a lot of walking, be prepared for that aspect of the evening.
My take: the best part is the instruction that directly connects to what you are shooting, plus the guide’s willingness to adapt. If that matches your learning style, you will likely leave with photos you are actually proud of, not just a card full of experiments.
FAQ
How long is the Osaka night photography workshop?
It lasts 3 hours.
Where does the photo tour start?
The journey starts at Dotonbori, then continues to Nipponbashi, Shinsekai, and later Tennōji.
Is this tour private?
Yes, it is listed as a private group.
Do I need a specific type of camera?
No. The workshop supports DSLR, mirrorless, and smartphone users.
Do you teach manual camera settings?
Yes. You get hands-on practice with manual mode, including aperture, ISO, shutter speed, composition, and framing.
Is food included?
No, food is not included.
Is there an option for light trails and illuminated scenes?
Yes. There is an optional evening session focused on light trails and illuminated scenes if you choose it.
More Workshops in Osaka
- Sushi Making Osaka Roll and Authentic Japanese Sushi Class★ 5.0 · 1,220 reviews
- Matcha Making Class in Osaka with Authentic Japanese Sweets Set★ 5.0 · 509 reviews
- Osaka: Ramen and Gyoza Cooking Class in Dotonbori★ 5.0 · 378 reviews
- Osaka Cooking Class: Okonomiyaki &Japanese cuisines experience★ 5.0 · 261 reviews
Just added around Osaka
Photography Sessions, compared.
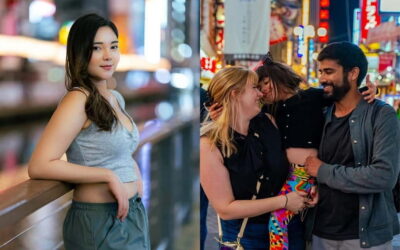
Private Vibrant Nighttime Photoshoot (Dotonbori)
Read our review →
Guided Photography Tour in Osaka: Capturing Memories
Read our review →
Osaka Dotonbori Night Photoshoot – Private | Pro Photographer
Read our review →
Private Vibrant Night Photoshoot Experience in Osaka (Dotonbori)
Read our review →
Osaka Kimono Experience – Quick Traditional Dress & Photos
Read our review →
This tour also fits